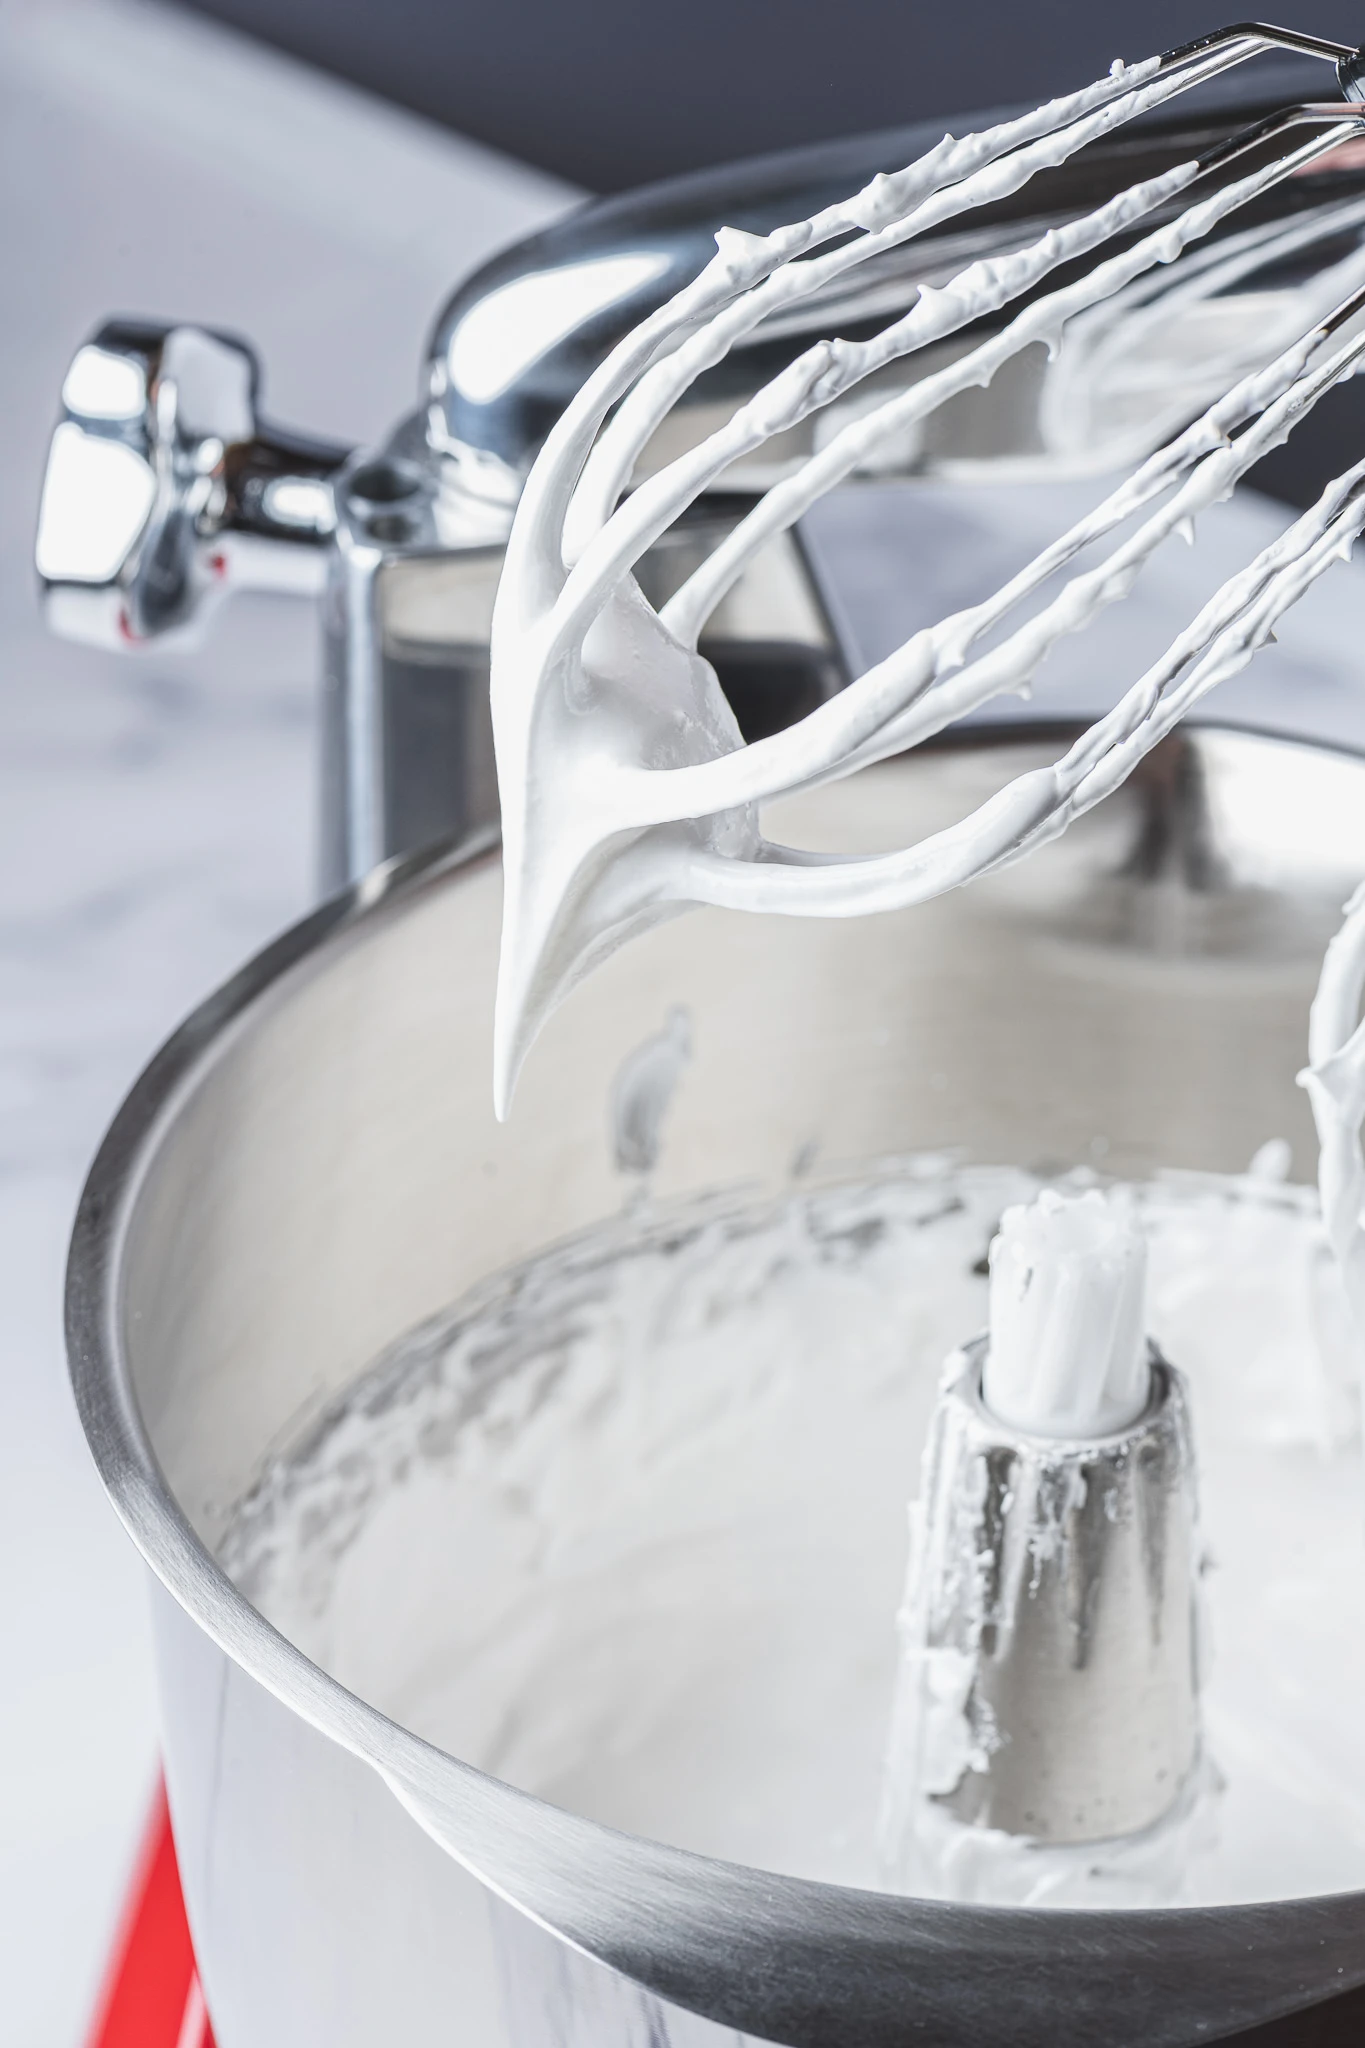
Expert Cookie whisks or balloon whisks
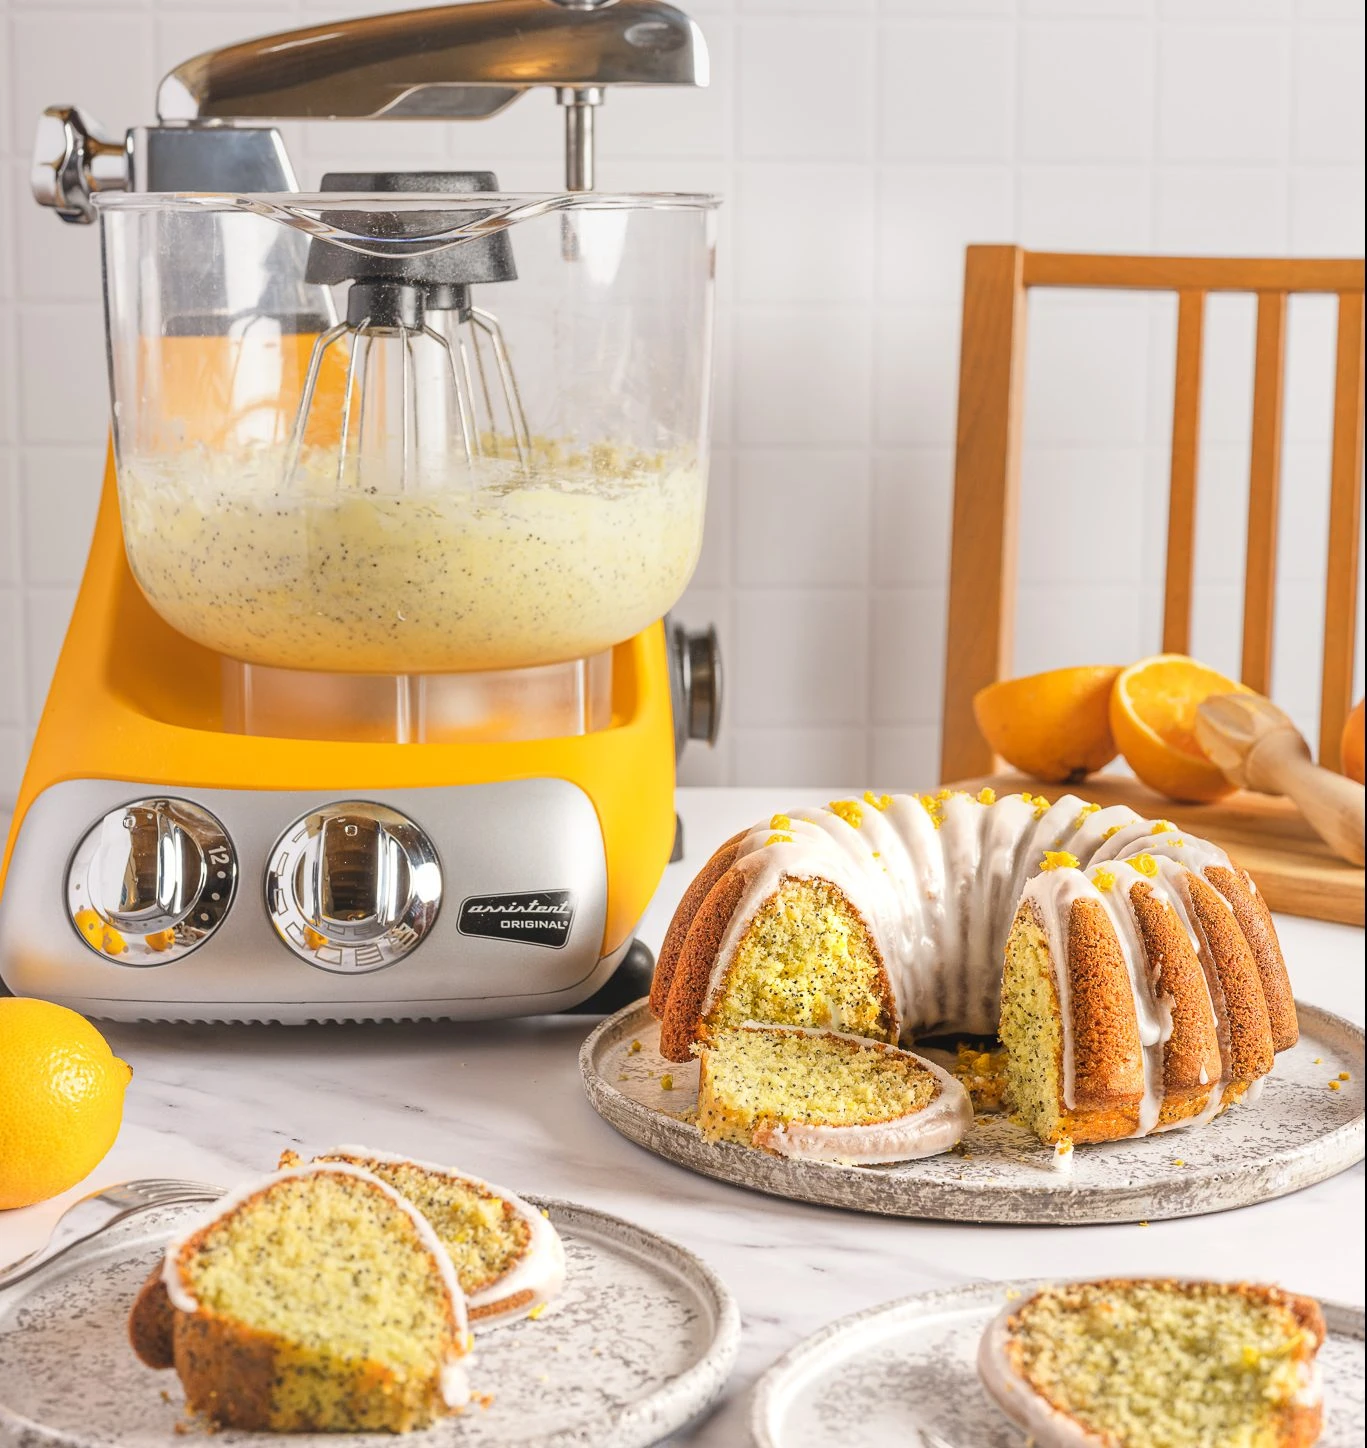
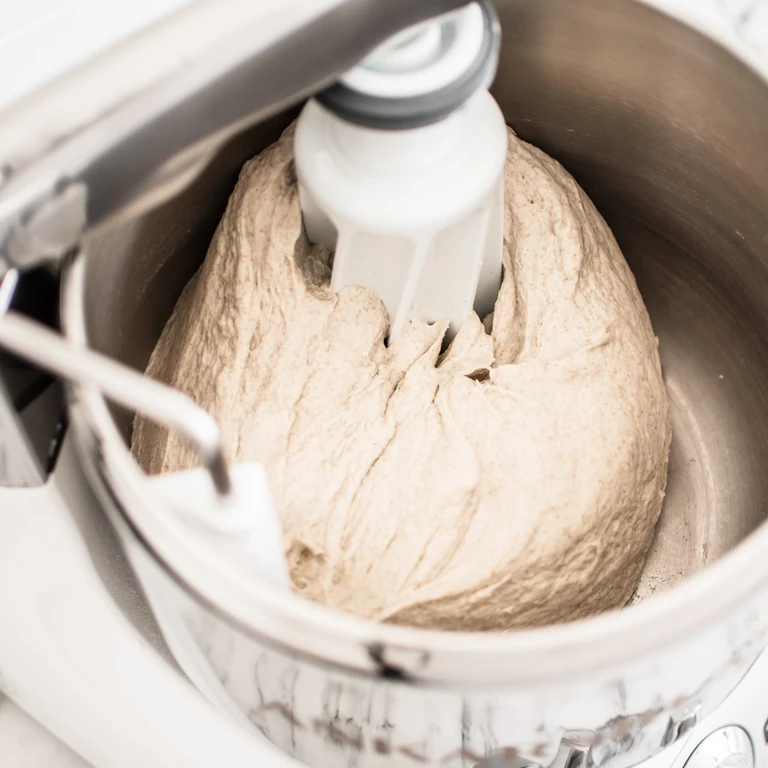
Two popular options for achieving perfectly mixed batters, cakes, cookies and pastries are the cookie whisks and the balloon whisks. But what sets them apart, and how do you choose the right one for your culinary creations?
2 min read | February 14, 2024
Read more