Our posts
Explore by topic
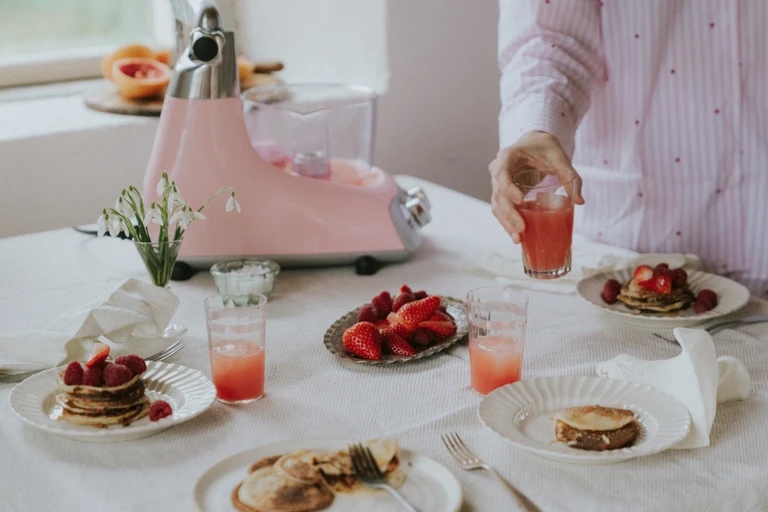
Savor Summer Flavors with the Blender and Citrus Press
Summer invites us to slow down, to linger over leisurely breakfasts, relaxed lunches, and laid-back backyard barbecues. With the Assistent Original, Blender, and Citrus Press, it’s easy to squeeze fresh citrus juices, blend refreshing smoothies, whip up salad dressings, and mix flavorful marinades for family cookouts, everything you need to bring the flavors of summer to the table.

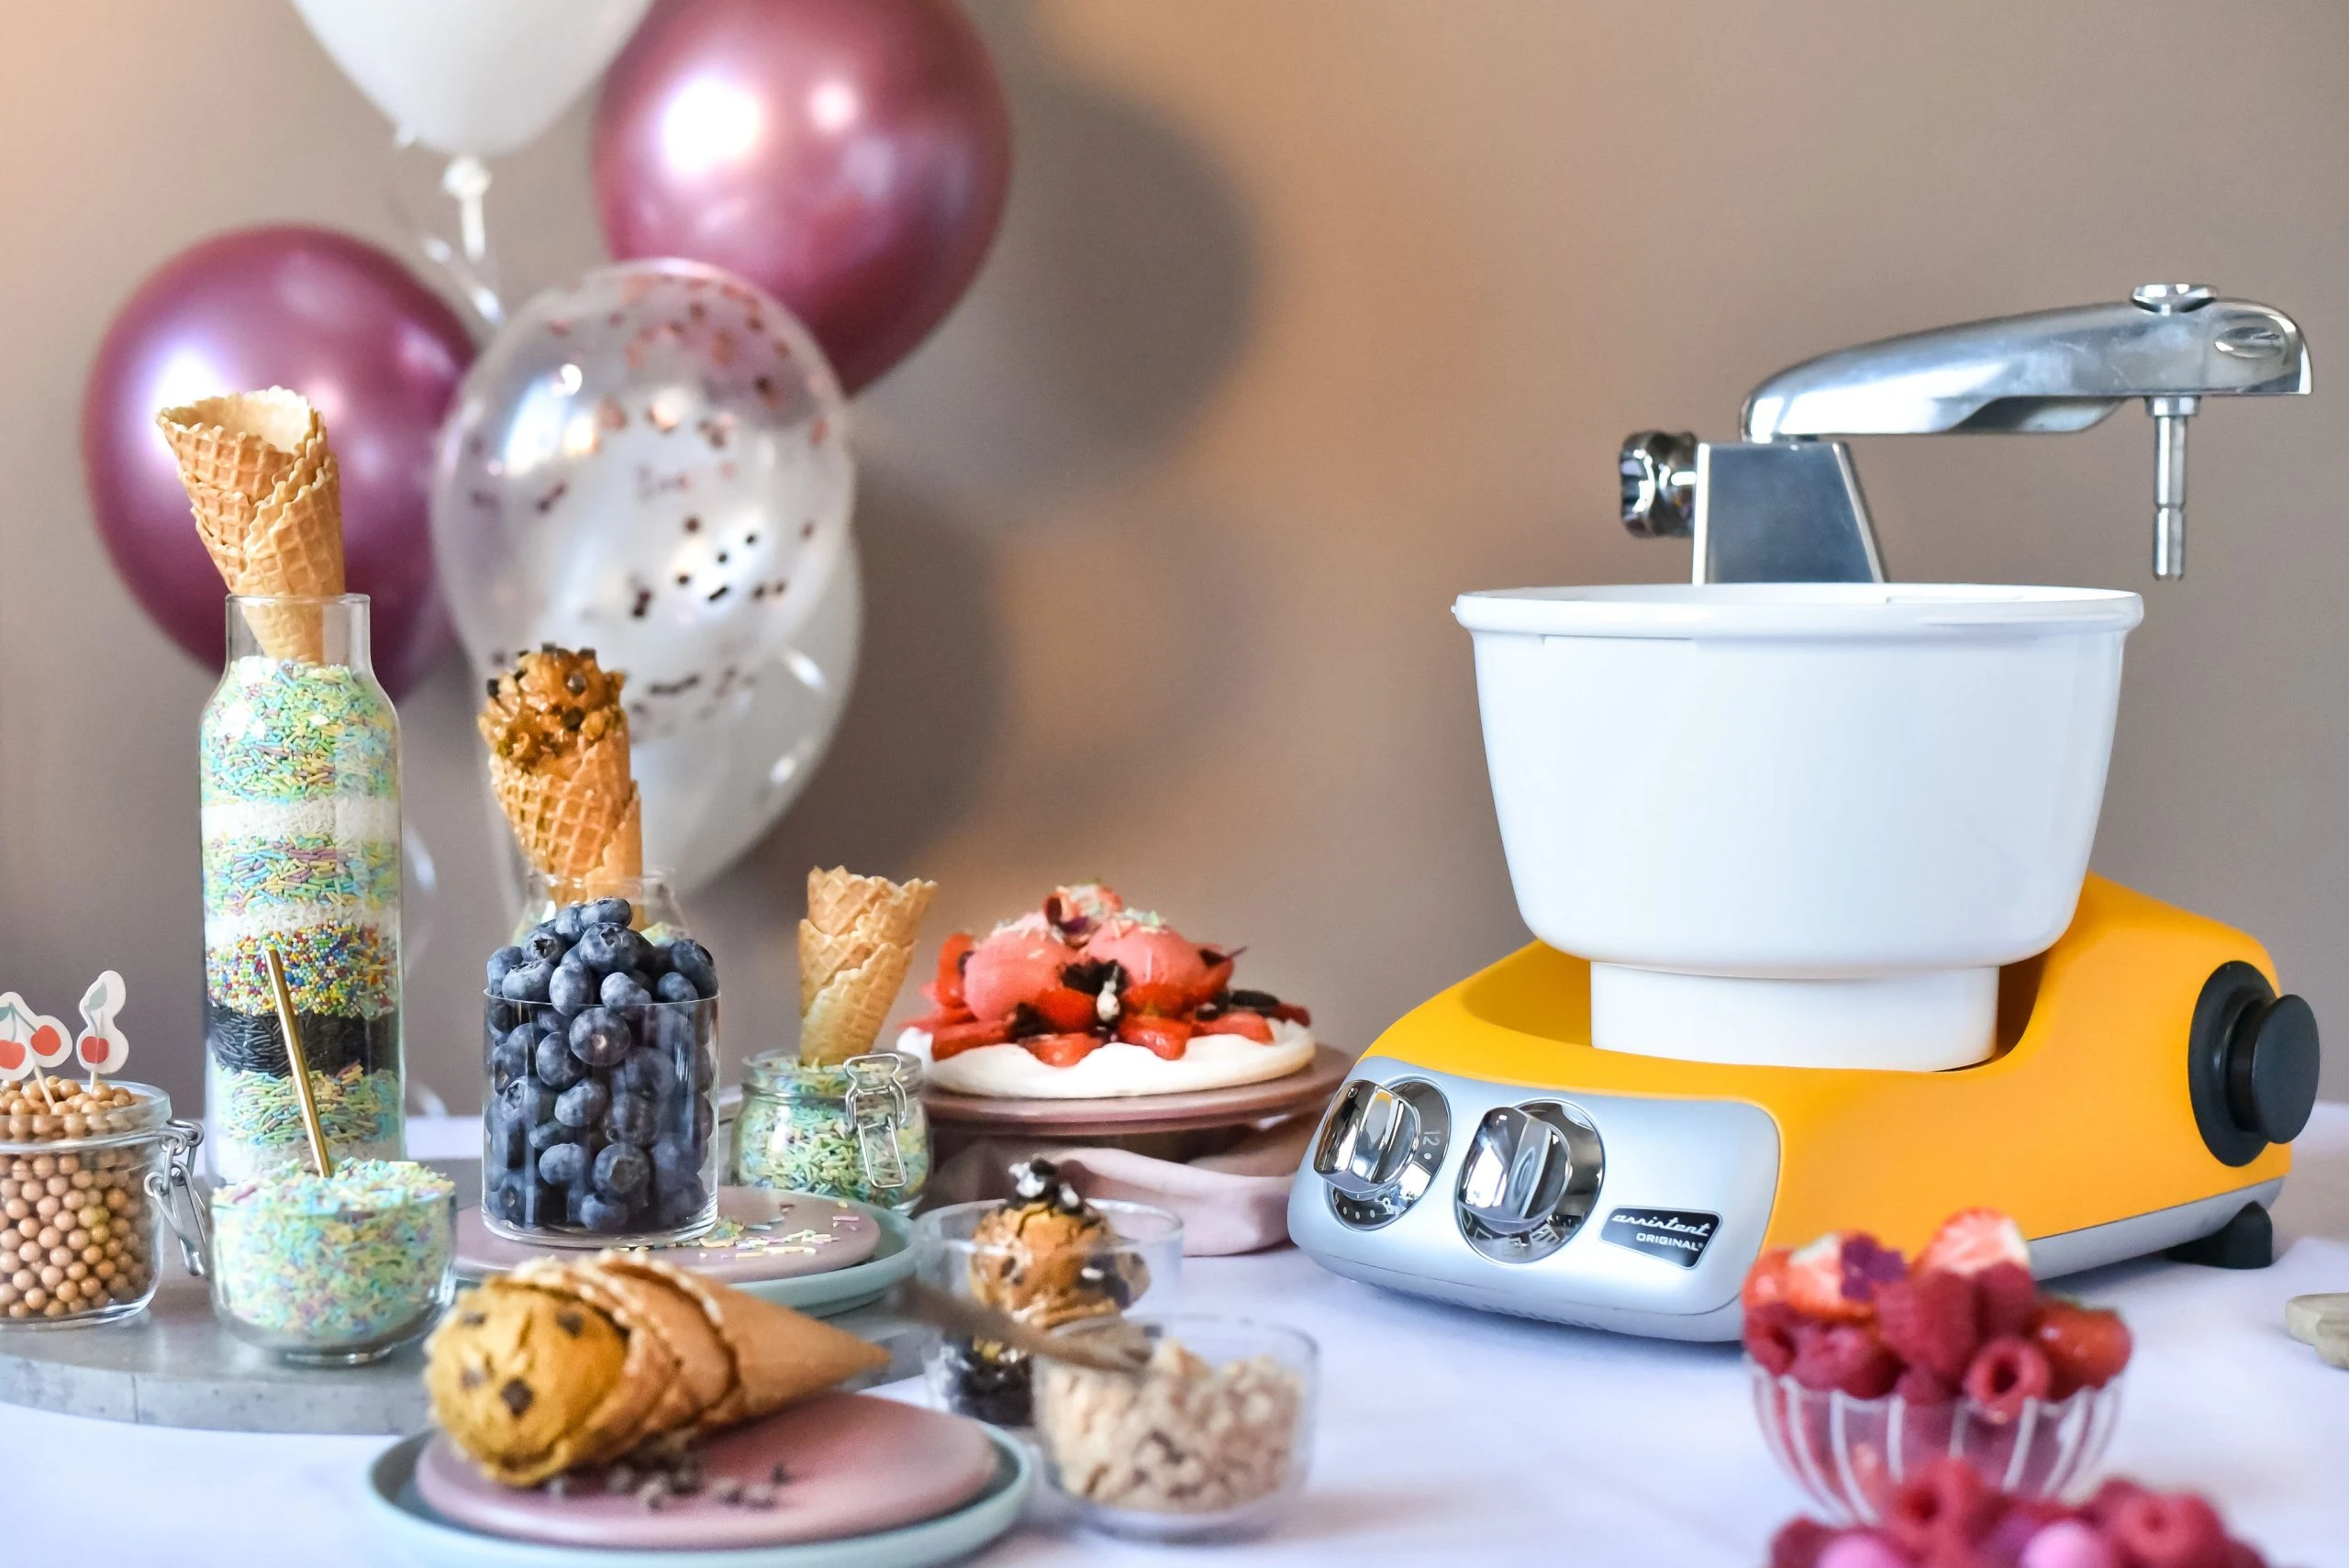
Make your summer sweeter with the Ankarsrum Ice Cream Maker
Summer is here – and what better way to celebrate than with homemade frozen treats? With the Ankarsrum Ice Cream Maker, it’s easier than ever to make creamy, delicious ice cream in your own kitchen. From classic vanilla to fresh sorbets, this is a fun activity the whole family can enjoy.

Master the Summer BBQ – Elevate Your Grilling with the Ankarsrum Mincer
Grilling season is here – long summer evenings, relaxed meals with family and friends, and the unmistakable aroma of food cooking over the BBQ. With the Ankarsrum Mincer, grinding your own meat becomes part of the experience, giving you greater control over flavour and a more hands-on approach to cooking. It’s also a simple way to make the most of fresh ingredients and create something truly memorable for your summer gatherings.

Spring Produce – Make the Most of the Season’s First Flavours
Spring awakens the joy of cooking and beckons fresh flavors, crisp textures, and new recipes in the kitchen. Spring produce is often the first sign of the changing season—tender, vibrant, and full of natural flavor. Fresh produce is often best with simple preparation methods, allowing each ingredient to take center stage.

Celebrate Spring with Ankarsrum
As the days grow longer and nature begins to bloom, it’s time to gather together, share delicious food and celebrate the joys of spring. With the Ankarsrum Assistent Original, preparing seasonal favourites is both simple and enjoyable. Fill your kitchen with fresh spring flavours, togetherness and renewed energy.

Homemade Goodness with Ankarsrum Pasta Accessories
With Ankarsrum Pasta Accessories it’s easy to take the leap from store-bought to homemade and create dishes where flavor, craft, and togetherness take center stage. Explore Ankarsrum’s Pasta Accessories, get tips for the best results, and try recipes that make it easy to cook something truly delicious from scratch.

The Best Stand Mixer
Meet the Ankarsrum Assistent Original, the best stand mixer for anyone who wants one machine that does it all. Handbuilt in Sweden since 1940, it’s designed to handle everything from kneading sourdough to grinding meat, making pasta, and blending smoothies.

Healthier Everyday Dining with the Go Green Package
When life gets busy, preparing meals that feel both healthy and enjoyable can be a challenge. Ankarsrum’s Go Green Package simplifies your preparation and makes it easy to add fresh, vibrant greens to your weekday and weekend meals and snacks.

Whip Up New Year’s Magic with the Stainless Steel Beater Bowl
As the New Year approaches, it’s time to set the table with something both festive and unforgettable. It’s often the little touches that make the evening sparkle – a beautifully laid table, a glass of bubbly, and of course, a decadent dessert that leaves your guests truly impressed.

Trade Holiday Stress for Holiday Magic with the Deluxe Package
The holidays are right around the corner — a season filled with favourite flavours, mouth-watering aromas, time with loved ones, and cherished traditions. Of course, it also means plenty of time spent in the kitchen. With the Deluxe Package from Ankarsrum, getting holiday-ready isn’t just easier – it’s a whole lot more fun!