Kneading is essential to create an easy-to-work and elastic dough that expands.
The kneading process stretches out the gluten threads to form a strong network. Gas bubbles, which are formed when dough rises, are encapsulated by the gluten network and will cause the bread to rise.
Dough is usually kneaded on two occasions: before the first fermentation, and a lighter kneading after the first fermentation.
First kneading
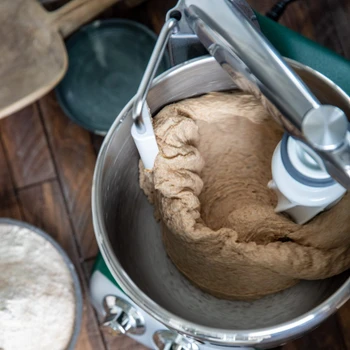
Once the dough is mixed in the bowl, knead it thoroughly. This will transform the dough from sticky to smooth and pliable. Kneaded dough will release from the edges of the bowl.
Do the windowpane test to see if the dough is sufficiently kneaded.
After kneading, the dough should mature in the bowl during the first fermentation (rest time).
Second kneading
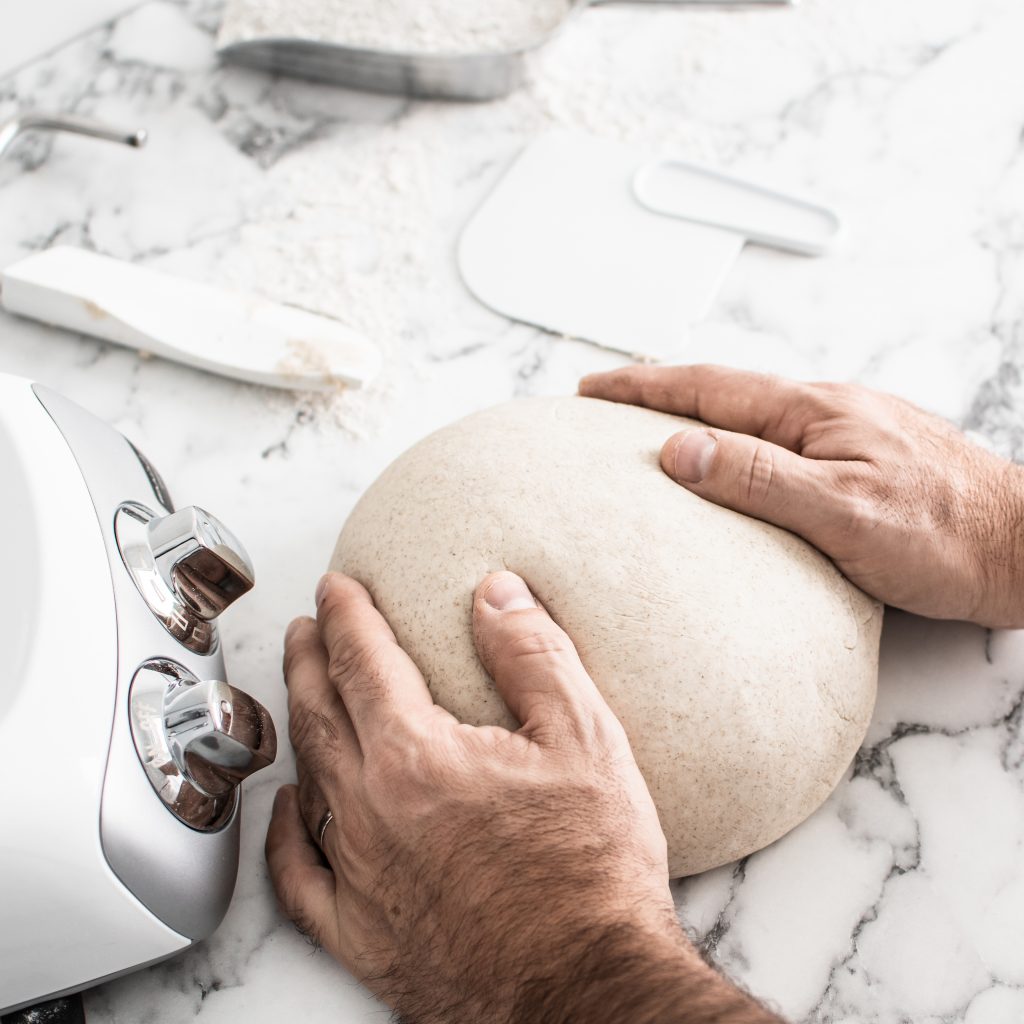
After the dough has risen in the bowl, turn it upside down on a floured baking sheet and knead it by hand. Use a minimum amount of flour, just enough to prevent the dough from sticking. Avoid adding too much flour to the dough, as this could make the bread dry. Shape the bread, and place in the desired shape or on a plate.
Now the shaped bread should rise again (bedtime).
During processing
If the dough is kneaded too little, it will not rise properly , and the bread will be flat and coarse-pored.
Reprocessing
If the dough is kneaded too long, the gluten threads can easily break, resulting in a crumbly bread.
Kneading in Ankarsrum
Add dough liquid first, even if you use dry yeast. Stir dry yeast according to the instructions on the package, and be sure to mix the dry yeast with flour before adding it.
The dough knife should always be used, regardless of whether you choose the dough hook or the dough roller. The dough knife helps bring dough towards the middle of the bowl where it is processed by the roller or hook. The dough knife has a fixed position, but it can be adjusted manually during kneading.
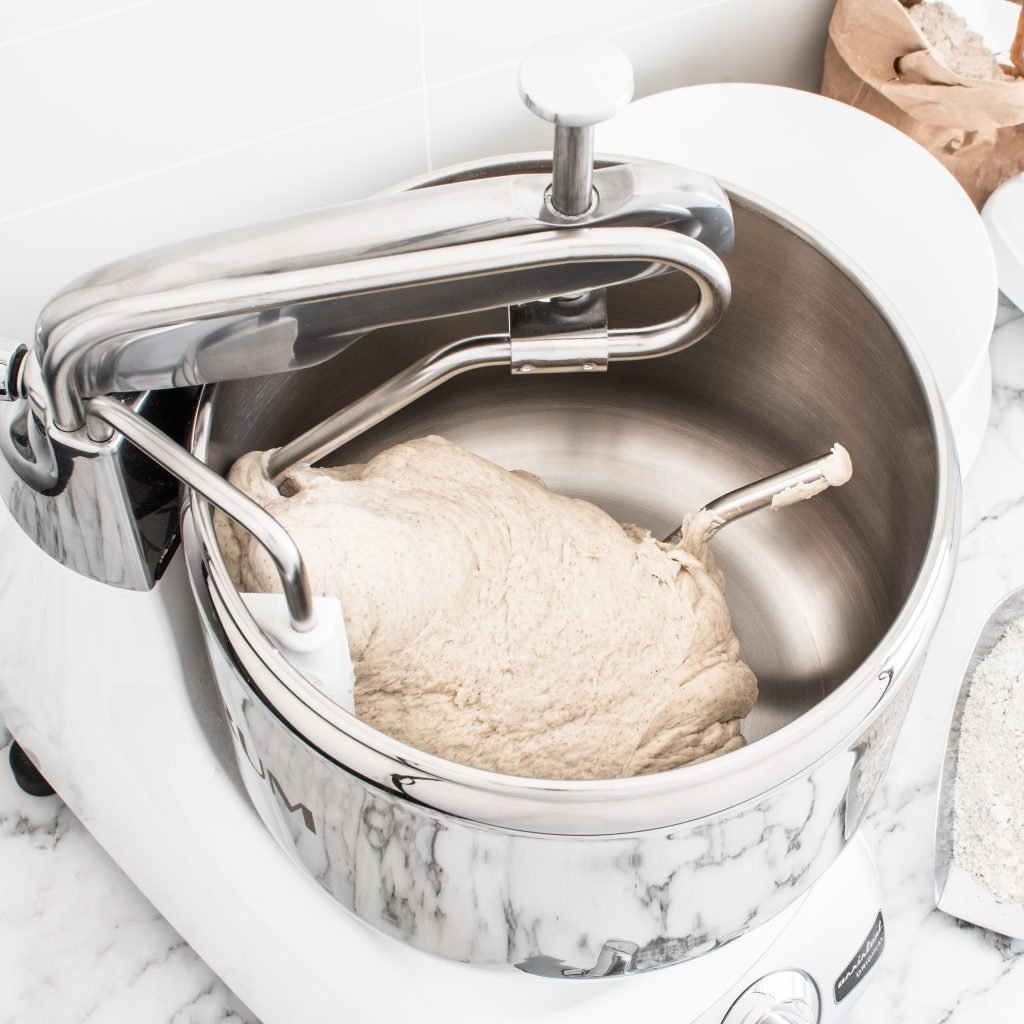
Kneading with the dough roller
Use the dough roller for kneading smaller doughs, bun doughs or doughs with butter. The dough roller can also be used when you make larger cakes or pie doughs.
The arm where you attach the dough roller is movable, and it can be locked in a desirable position based on the dough being kneaded. Add dough liquid first and then yeast, set the Assistant on low speed, and pull the arm towards you a couple of times to make sure the yeast has dissolved properly. Then add the flour together with any seasoning.
For example, if you are baking buns, you should add soft butter in small pieces for best results, only after other ingredients have been mixed.
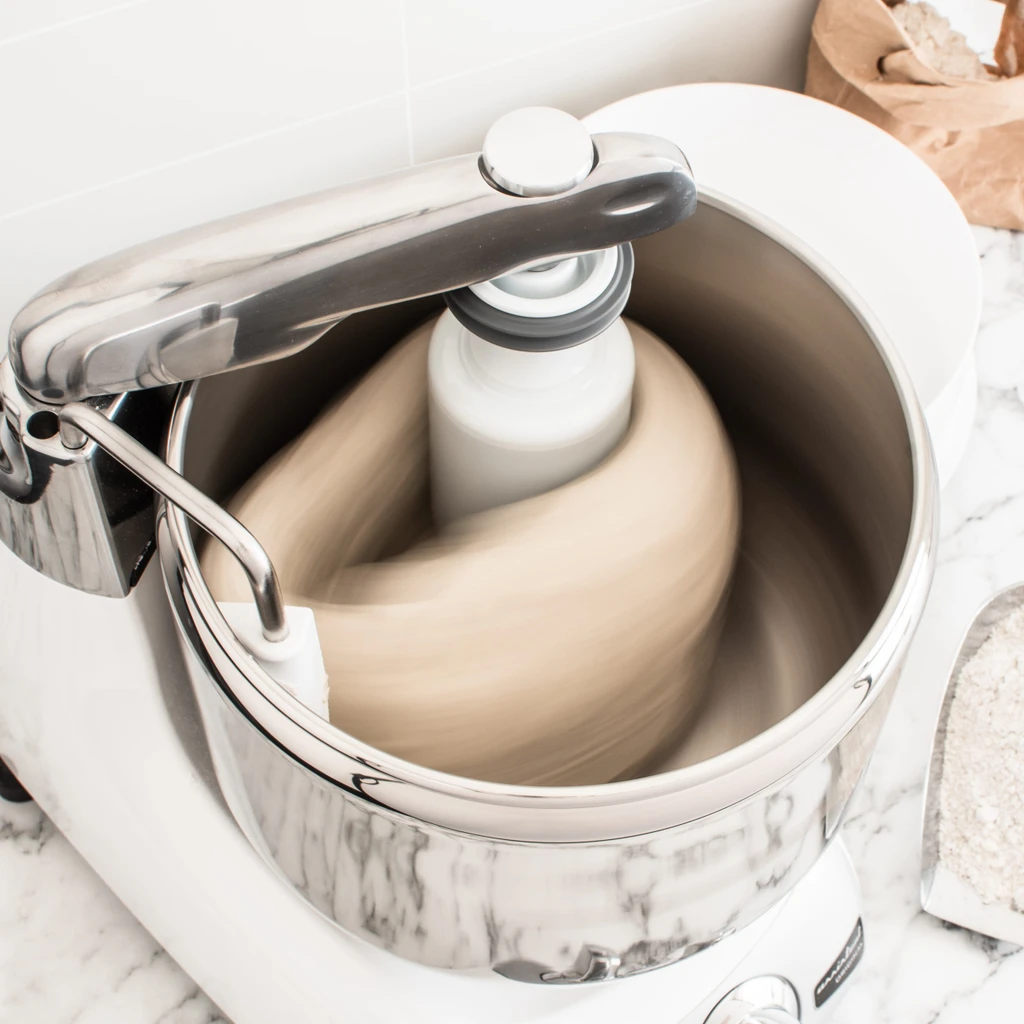
Work at low speed, and when you see that the dough starts to move up along the inside of the bowl, lock the dough roller ¾” to 2” (2-5 cm) from the edge. Locking the arm gives the dough space to knead without being pressed out of the bowl. You may need to adjust the roller several times during kneading, and also move the dough knife inwards and outwards to scrape dough from the edge.
Set the timer to 8-10 minutes, and let the Assistent knead the dough. You will notice that after a while the dough, even if it seems sticky, gradually comes together into a smooth dough.
Wait to add any salt until the last minutes of kneading. The salt helps preserve already formed gluten threads, but it can inhibit their formation if it is added before kneading.
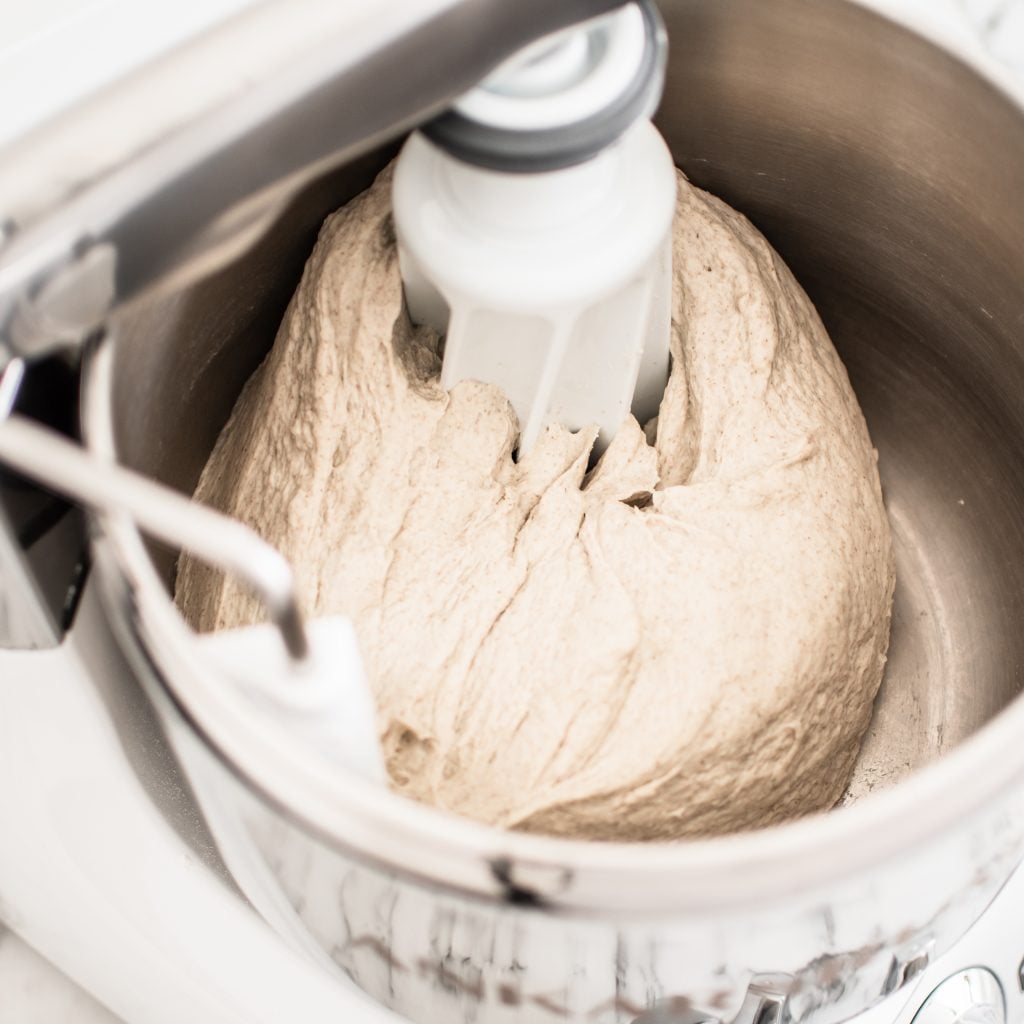
Kneading with the dough hook
The dough hook is designed for kneading large and heavy doughs.
Attach the dough knife and the hook, without locking the arm.
Add dough liquid first and then yeast, set the Assistant on low speed, and pull the arm towards you a couple of times to make sure that the yeast has dissolved properly. Then add flour and any seasoning.
Unlike the dough roller, which mainly hugs the dough, the dough hook extends it.
When flour is added, center the dough hook and lock it in that position. You may need to adjust the position of the dough hook during kneading, and also move the dough knife inwards and outwards to scrape the dough from the edge.
Wait to add any salt until the end of kneading. The salt helps preserve already formed gluten threads, but it can inhibit their formation if it is added before kneading.
If you make a dough with 1½ liters (about 6 cups) or more of dough liquid, you should divide the dough in half and leave it in two separate bowls for fermentation.